Having a nail manicure is nothing new nowadays. Almost every woman has one today. But, it is essential to follow the correct procedure and use quality materials for the manicure to last comfortably long. The OPI gel manicure is recommended if you decide to have a gel polish manicure. This process involves a thin brush-on procedure that guarantees excellent performance and a glossier nail finish.
We discuss how to have a perfect gel polish manicure in this article. Here are the seven steps to follow for ensuring a high-quality manicure.
Step by Steps To A Perfect OPI Gel Manicure
Before starting your nail polish procedure, you will need a good-quality kit. The OPI gel polish set should be perfect. It contains the following items.
- Nail manicuring items and cuticle oil – These ingredients help prep your nails for the job.
- Nail cleansing solution – It helps clean your nail surface after the manicure.
- OPI Gel Base Coat and Top Coat – The basecoat and topcoat are integral to every gel manicure.
- OPI gel color – OPI offers an extensive range of gel polish colors to choose from.
- Nail wipes – Removing the debris and dust settled on the nails becomes easy using OPI nail wipes.
- LED Lamp – Gel polish requires proper curing under a UV/LED lamp.
Following these seven steps ensures an exquisite OPI gel manicure.
Prepping your nails
The correct procedure is to prep your nails before starting with the polish application. Once you complete the manicure, you cannot cut or file your nails because it can damage the manicure.
One should use a sterilized nail cutter and file to give proper shape to the nails. The nail buff is perfect for roughing up the nail surface and allowing the basecoat to stick to it.
It is critical to push the cuticles into their grooves. Otherwise, they can damage your OPI gel manicure by causing the lifting of the polish layer. In addition, it can provide ground for bacterial contamination. Besides, it is also essential to massage the cuticle with cuticle oil.
Finally, you can use the lint-free wipes to clean the nail surface of all debris and provide the perfect surface for applying the basecoat.
Apply the basecoat
Before you apply the basecoat, you should shake the bottle vigorously to allow the product to disperse properly. It will enable you to have thin coats. The correct procedure is to apply the basecoat evenly in thin coats and avoid flooding the cuticles.
It is important to cap the free edges of your nail. Otherwise, they could lift the polish layer. Besides, curing the basecoat under the UV/LED lamp is crucial to your gel manicure.
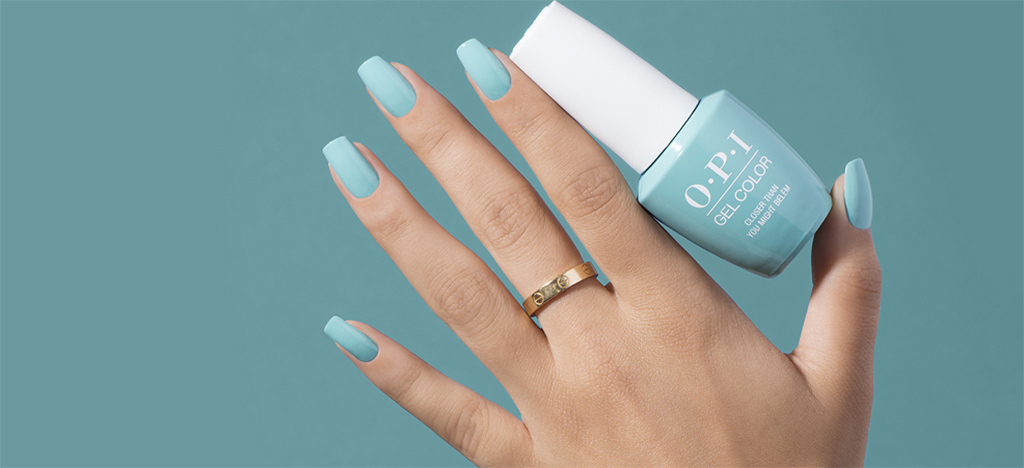
Apply the OPI gel polish color
Go through the OPI gel polish set and choose your favorite OPI gel polish color. Then, shake the bottle well with your hands. Alternatively, you can use a mechanical shaker that allows the gel polish to mix well and ensure an even coat.
Apply one coat of gel polish on your nail using straight lines. However, you should spare the cuticle area and avoid the cuticles. Cap the free edges of your nail to ensure against the lifting of the nail polish.
Cure the nail polish layer
Curing each nail polish layer under a UV lamp is essential for a gel manicure. The polish layer should be dry before you apply the subsequent coat. It ensures that the gel polish does not smudge and spoil the manicure.
On curing the existing layer, you can proceed with the next one. It is better to have at least three to four coats for your gel manicures to last long. But, you should cure every layer under the UV lamp before proceeding further.
The top coat application
Shake the topcoat application bottle vigorously for one minute to allow the ingredients to mix well. Next, have a thin layer of top coat over the gel polish. Finally, cure the topcoat layer under the UV lamp before proceeding to the next one. If you desire a matte finish, you can stop after two coats. Otherwise, you need more coats for a glossy finish.
Feel the nail polish
Curing your topcoat layer is the final step in the OPI gel manicure. Once cured, the polish layer should feel tacky to touch. The gel manicure is now ready to last for a minimum of three weeks. However, maintaining the manicure can help prolong it to four weeks.
Cleanse your nail thoroughly
Use a lint-free wipe dipped in the nail wipe solution saturated with NAS 99. It helps remove all the debris and dust that stick to your nail after the manicure. It is better to massage your nails gently with cuticle oil and help retain the gloss.
Final Thoughts
Following these seven steps ensures you get the best gel nail polish manicure in town. Thus, you can proudly display your nails on your social media handles and impress your friends and loved ones.